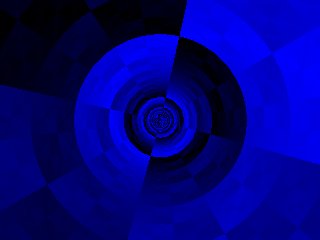
#define texWidth 256
#define texHeight 256
#define screenWidth 640
#define screenHeight 480

// Y-coordinate first because we use horizontal scanlines
Uint32 texture[texHeight][texWidth];
int distanceTable[screenHeight][screenWidth];
int angleTable[screenHeight][screenWidth];
Uint32 buffer[screenHeight][screenWidth];
|
int main(int argc, char *argv[])
{
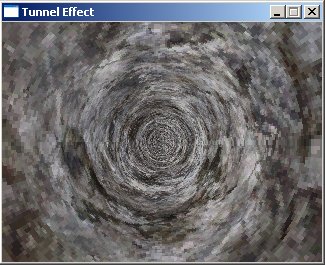
  screen(screenWidth, screenHeight, 0, "Tunnel Effect");

  //generate texture
  for(int y = 0; y < texHeight; y++)
  for(int x = 0; x < texWidth; x++)
  {
    texture[y][x] = (x * 256 / texWidth) ^ (y * 256 / texHeight);
  }
|
  //generate non-linear transformation table
  for(int y = 0; y < h; y++)
  for(int x = 0; x < w; x++)
  {
    int angle, distance;
    float ratio = 32.0;
    distance = int(ratio * texHeight / sqrt((x - w / 2.0) * (x - w / 2.0) + (y - h / 2.0) * (y - h / 2.0))) % texHeight;
    angle = (unsigned int)(0.5 * texWidth * atan2(y - h / 2.0, x - w / 2.0) / 3.1416);
    distanceTable[y][x] = distance;
    angleTable[y][x] = angle;
  }
|
  float animation;
  //begin the loop
  while(!done())
  {
    animation = getTime();
    //calculate the shift values out of the animation value
    int shiftX = int(texWidth * 1.0 * animation);
    int shiftY = int(texHeight * 0.25 * animation);

    for(int y = 0; y < h; y++)
    for(int x = 0; x < w; x++)
    {
      //get the texel from the texture by using the tables, shifted with the animation values
      int color = texture[(unsigned int)(distanceTable[y][x] + shiftX)  % texWidth][(unsigned int)(angleTable[y][x] + shiftY) % texHeight];
      buffer[y][x] = color;
    }
    drawBuffer(buffer[0]);
    redraw();
  }
  return(0);
}
|
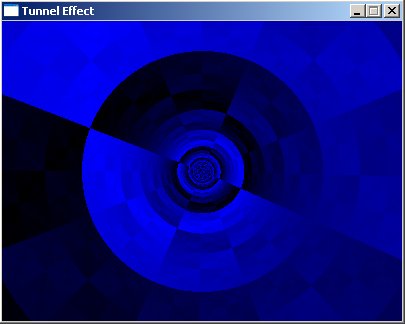
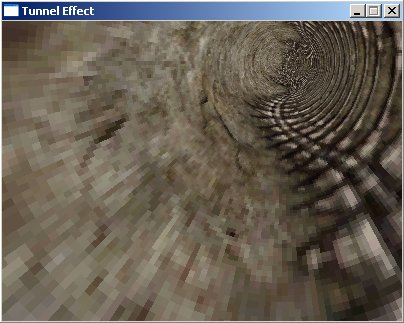
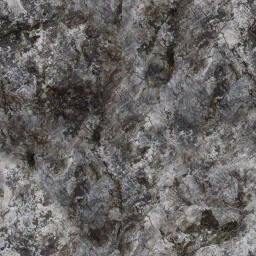
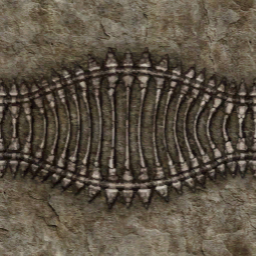
loadBMP("textures/tunnel.bmp", texture[0], texWidth, texHeight);
|
#define texWidth 256
#define texHeight 256
#define screenWidth 400
#define screenHeight 300

int texture[texWidth][texHeight];

//Make the tables twice as big as the screen. The center of the buffers is now the position (w,h).
int distanceTable[2 * screenWidth][2 * screenHeight];
int angleTable[2 * screenWidth][2 * screenHeight];

int buffer[screenWidth][screenHeight];

int main(int argc, char *argv[])
{
  screen(screenWidth, screenHeight, 0, "Tunnel Effect");

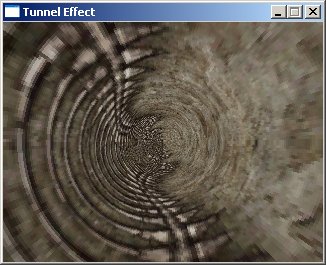
  loadBMP("textures/tunnel.bmp", texture[0], texWidth, texHeight);

  //generate non-linear transformation table, now for the bigger buffers (twice as big)
  for(int y = 0; y < h * 2; y++)
  for(int x = 0; x < w * 2; x++)
  {
    int angle, distance;
    float ratio = 32.0;
    //these formulas are changed to work with the new center of the tables
    distance = int(ratio * texHeight / sqrt(float((x - w) * (x - w) + (y - h) * (y - h)))) % texHeight;
    angle = (unsigned int)(0.5 * texWidth * atan2(float(y - h), float(x - w)) / 3.1416);
    distanceTable[y][x] = distance;
    angleTable[y][x] = angle;
  }

  float animation;

  //begin the loop
  while(!done())
  {
    animation = getTime() / 1000.0;

    //calculate the shift values out of the animation value
    int shiftX = int(texWidth * 1.0 * animation);
    int shiftY = int(texHeight * 0.25 * animation);
    //calculate the look values out of the animation value
    //by using sine functions, it'll alternate between looking left/right and up/down
    //make sure that x + shiftLookX never goes outside the dimensions of the table, same for y
    int shiftLookX = w / 2 + int(w / 2 * sin(animation));
    int shiftLookY = h / 2 + int(h / 2 * sin(animation * 2.0));

    for(int y = 0; y < h; y++)
    for(int x = 0; x < w; x++)
    {
      //get the texel from the texture by using the tables, shifted with the animation variable
      //now, x and y are shifted as well with the "look" animation values
      int color = texture[(unsigned int)(distanceTable[x + shiftLookX][y + shiftLookY] + shiftX)  % texWidth]
                 [(unsigned int)(angleTable[x + shiftLookX][y + shiftLookY]+ shiftY) % texHeight];
      buffer[y][x] = color;
    }
    drawBuffer(buffer[0]);
    redraw();
  }

  return(0);
}
|